1. 시스템 - 관리 - 시냅틱 꾸러미 관리자를 실행한다.

2. 모든 Ubuntu Studio 테마를 설치하려만 ubuntustudio-look을 설치한다.
gdm 테마, 바탕화면, icon 테마, session splashes, gtk 테마등이 설치된다.

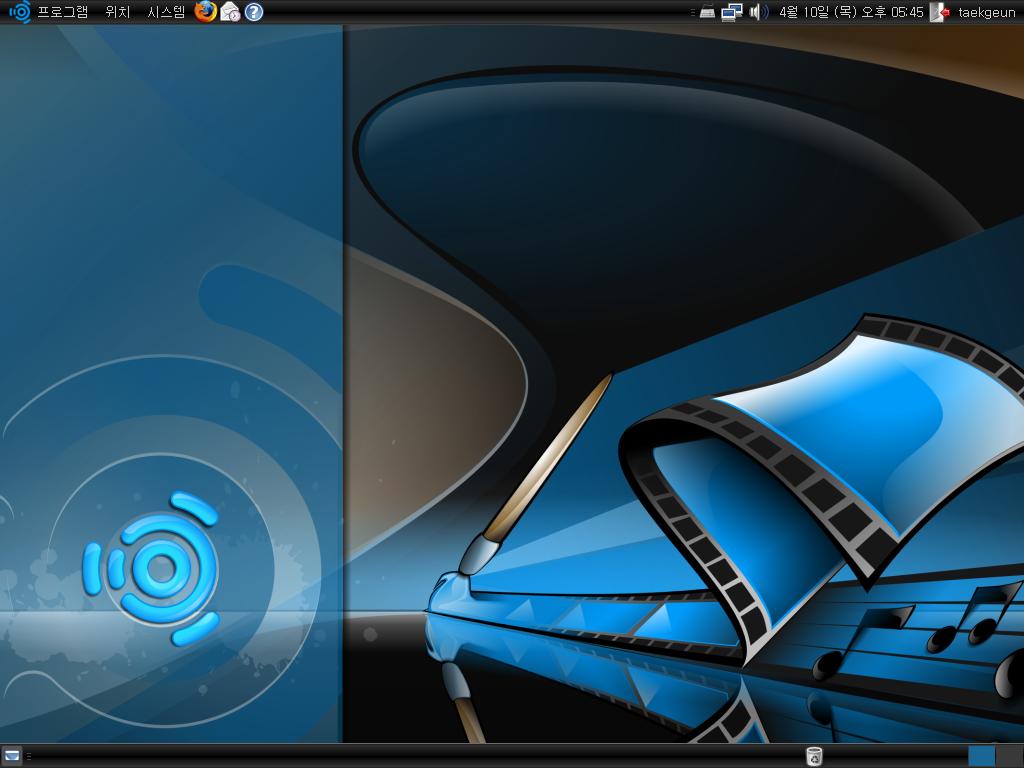
3. gdm 테마는 설치하지 않고, 로그인 후 테마만 설치하려면 다음 패키지들만 설치하면 된다.
ubuntustudio-theme ubuntustudio-icon-theme ubuntustudio-wallpapers

P.S. 위 테마는 8.04 에서 설치하였음.
아래는 3번 처럼 설치하여 UbuntuStudio 테마를 적용한 화면입니다.

사용자 삽입 이미지

우분투 배포판은 Ubuntu, Kubuntu, Xubuntu, Edubuntu가 있는 건 알았지만, 오랜만에
Ubuntu 홈페이지에 들렀다가 Gobuntu, Ubuntu Studio 배포판도 나온 걸 알게 되었다.

Gobuntu는 Linux 기반이 아닌 GNU/Linux 기반의 배포판이고 Ubuntu Studio는 멀티미디어 편집용
Ubuntu 배포판이다.

 
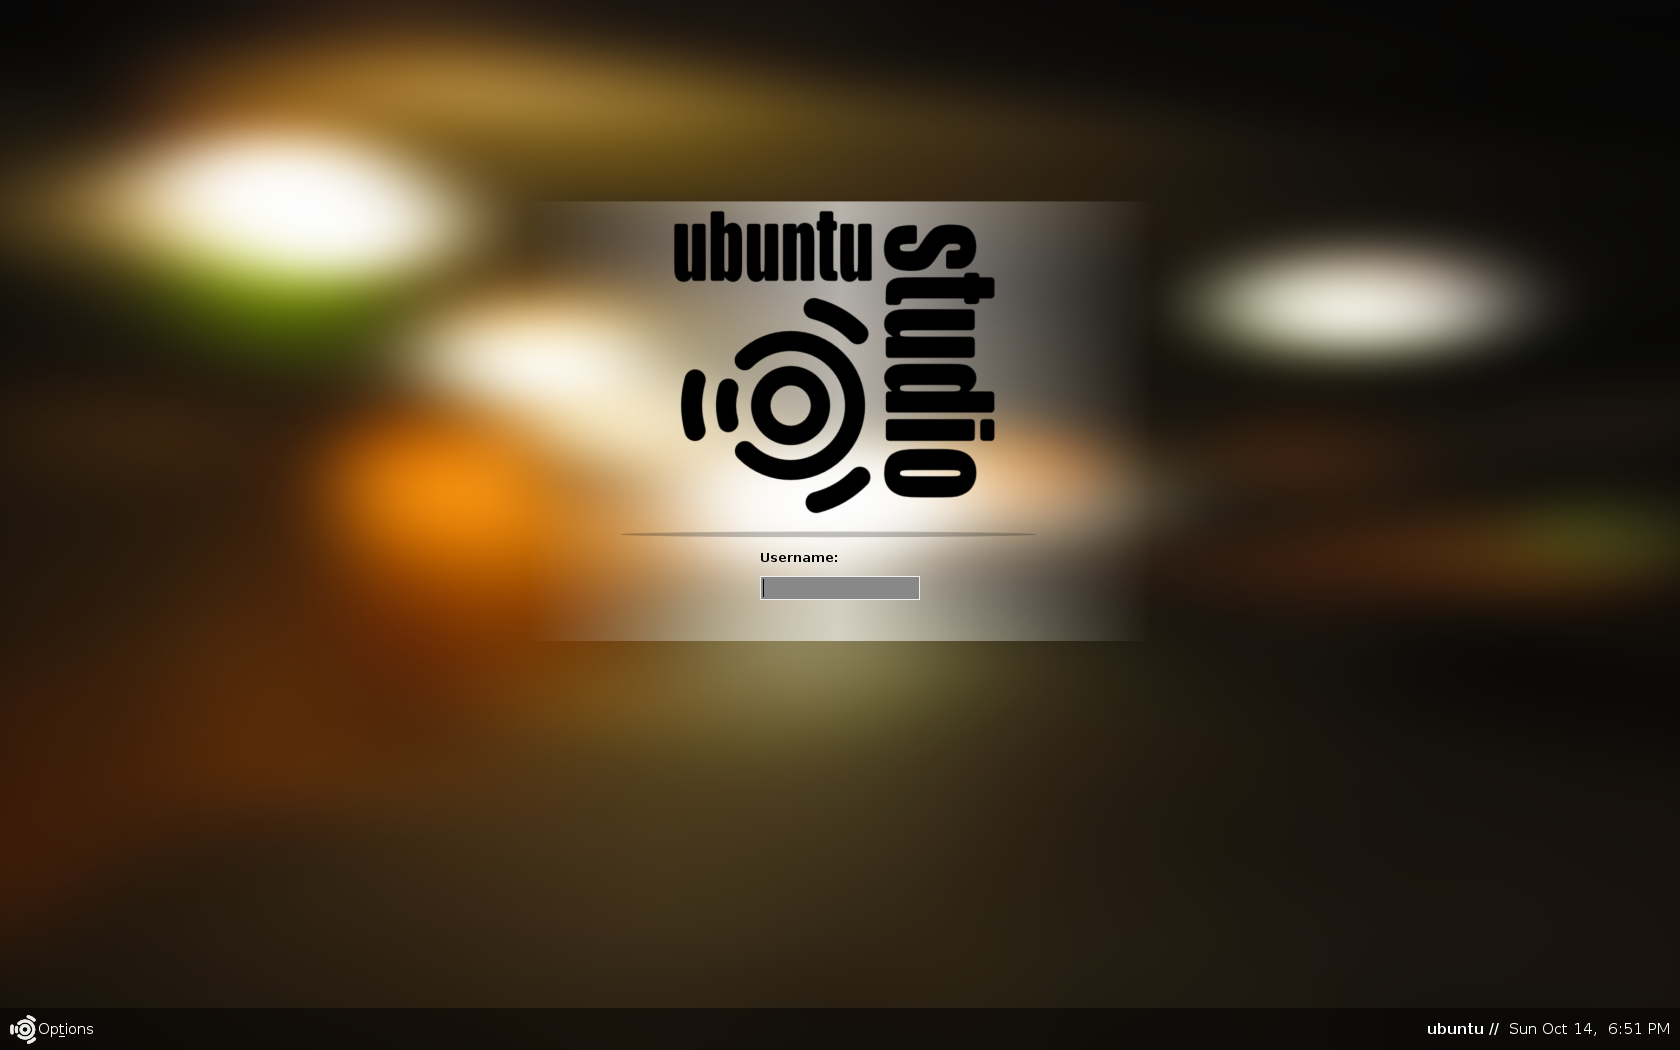
사용자 삽입 이미지
GDM Login

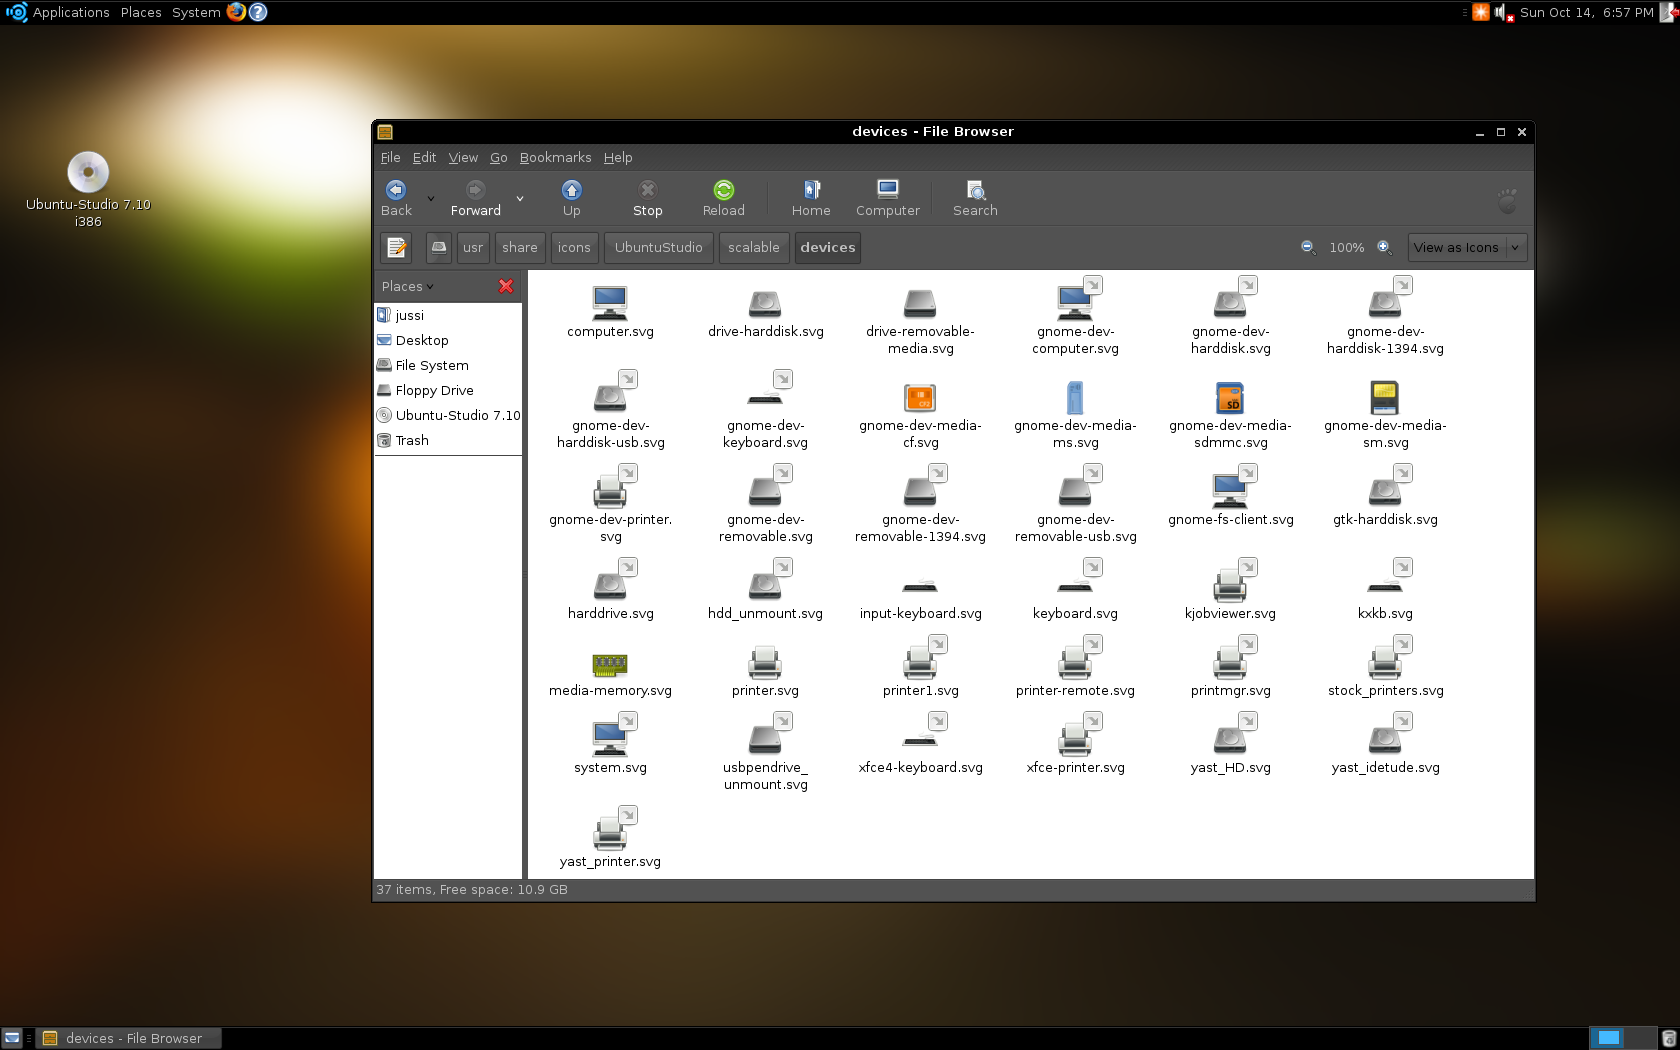
사용자 삽입 이미지
Icons

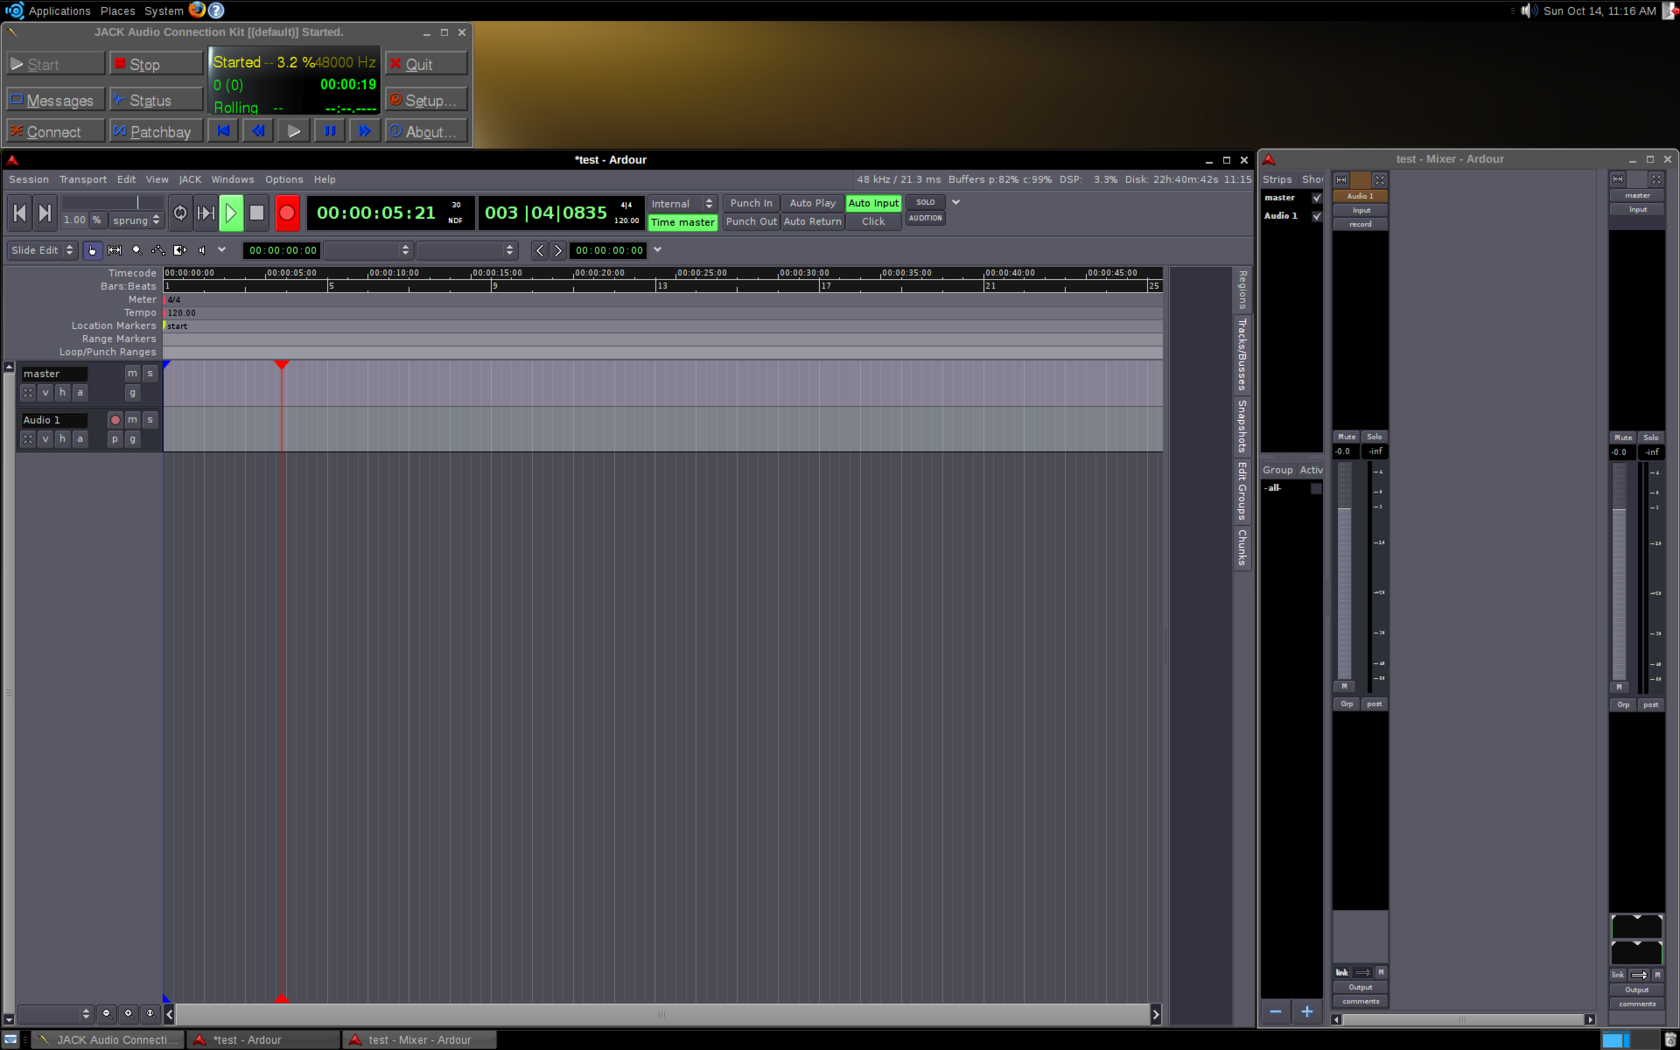
사용자 삽입 이미지
Ardour 2

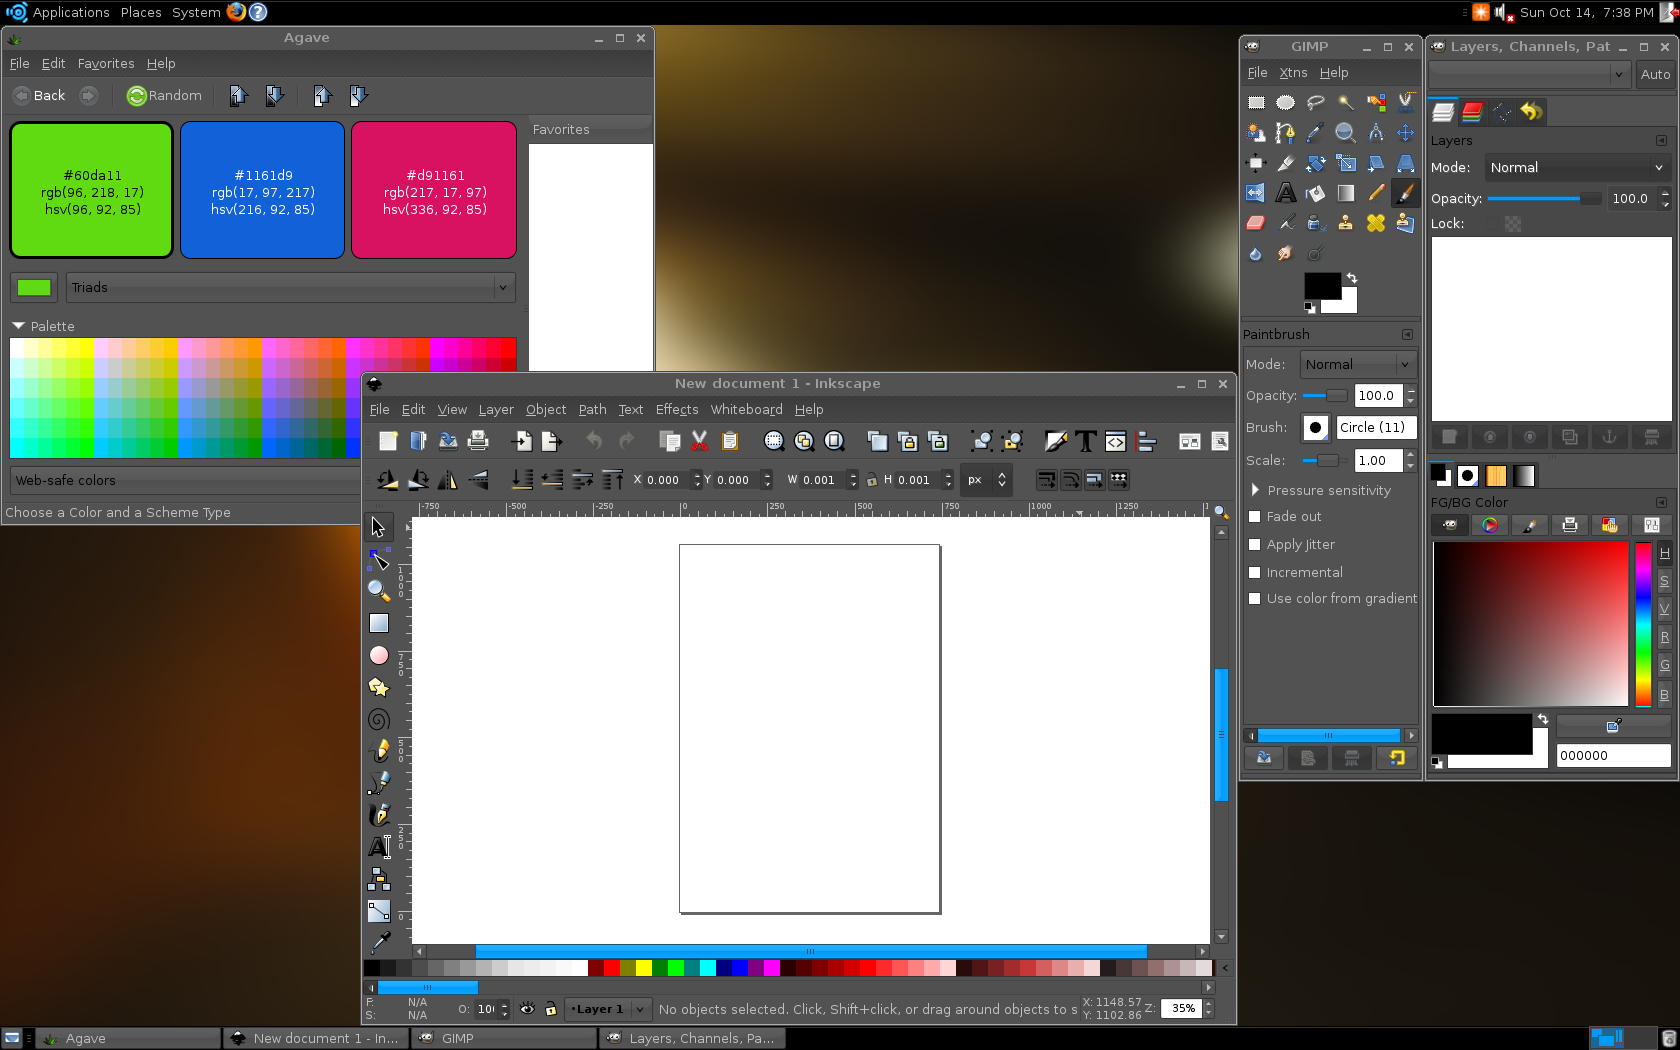
사용자 삽입 이미지
Image Editing

우분투에 굴림체와 비슷한 네이버사전체를 설치하는 방법에 대한 소개입니다.

1. 네이버사전체 받기
http://cndic.naver.com/font.nhn

사용자 삽입 이미지

2. 글꼴 설치
다운로드 받은 naverdic.tgz 파일을 압축을 풀고 naverdic.ttf 파일을 /usr/share/fonts 에 복사한다.
/usr/share/fonts 디렉터리에 복사하기 위해서는 루트 권한이 필요하니, sudo를 이용한다.

3. 네이버사전체로 설정하기
시스템 -> 기본설정 -> 모양새 에서 화면에 사용할 글꼴은 네이버사전체로 설정한다.
파이어폭스 등에서도 글꼴을 설정해주면, 웹 브라우저의 글꼴도 바꿀 수 있다.

다음은 VMWare에 Gentoo Linux 2006.1을 stage3로 설치한 기록입니다.


1. 파티션 나누기

/dev/sda1 32M /boot

/dev/sda2 512M swap

/dev/sda3 나머지 /


2. 파일 시스템 만들기

# mke2fs /dev/sda1

# mke2fs -j /dev/sda3

# mkswap /dev/sda2

# swapon /dev/sda2


3. 마운트

# mount /dev/sda3 /mnt/gentoo

# mkdir /mnt/gentoo/boot

# mount /dev/sda1 /mnt/gentoo/boot


4. 날짜 맞추기

date를 이용해 오늘 날짜로 조정한다.


5. stage3, portage 다운로드

stage3: releases/x86/2006.1/stages/stage-i686-2006.1.tar.bz2

portage: snapshots/portage-latest.tar.bz2

links에서 D를 누르면 다운로드 한다.


# cd /mnt/gentoo

# links http://www.gentoo.org/main/en/mirrors.xml


6. 압축 풀기

# tar xvjpf stage3-i686-2006.1.tar.bz2

# tar xvjf /mnt/gentoo/portage-latest.tar.bz2 -C /mnt/gentoo/usr


7. make.conf

# nano -w /mnt/gentoo/etc/make.conf

MAKEOPTS="-j2" 추가


8. 미러 사이트, rsync 사이트 추가

# mirrorselect -i -o >> /mnt/gentoo/etc/make.conf

# mirrorselect -i -r -o >> /mnt/gentoo/etc/make.conf

*참고

SYNC="rsync://64.127.121.98/gentoo-portage"


9. DNS

# cp -L /etc/resolv.conf /mnt/gentoo/etc/resolv.conf


10. proc, dev 마운트

# mount -t proc none /mnt/gentoo/proc

# mount -o bind /dev /mnt/gentoo/dev


11. 루트 바꾸기

# chroot /mnt/gentoo /bin/bash

# env-update

# source /etc/profile

# export PS1="(chroot) $PS1"


12. portage 트리 업데이트

# emerge --sync

* portage가 업데이트 되었다고 나오면 emerge portage를 실행


13. profile 확인

# ls -FGg /etc/make.profile

lrwxrwxrwx 1 48 Nov 30 20:00 /etc/make.profile -> ../usr/portage/profile/default-linux/x86/2006.1/

2.6 커널 기반인지 확인


14. USE 설정

# nano -w /etc/make.conf


USE="gnome gtk2 -kde -qt3 -qt4 firefox cjk symlink alsa"

INPUT_DEVICES="keyboard mouse"

VIDEO_CARDS="vmware"

LINGUAS="ko"


15. GLIBC 로케일

# nano -w /ete/locale.gen


en_US ISO-8859-1

en_US.UTF-8 UTF-8

ko_KR.EUC-KR EUC-KR

ko_KR.UTF-8 UTF-8

ko_KR EUC-KR


# locale-gen


16. timezone

# cp /usr/share/zoneinfo/Asia/Seoul /etc/localtime


17. 커널 소스 설치

# USE="-doc symlink" emerge gentoo-sources

# ls -l /usr/src/linux


18. genkernel을 이용한 커널 컴파일

# emerge genkernel

# genkernel all

# emerge coldplug

# rc-update add coldplug boot


19. fstab

# nano -w /etc/fstab


/dev/sda1 /boot  ext2  defaults.noatime 1 2
/dev/sda2 none  swap sw    0 0
/dev/sda3 /   ext3  noatime   0 1

proc   /proc  proc  defaults   0 0
shm   /dev/shm  tmpfs nodev,nosuid,noexec 0 0


20. hostname, domainname

# nano -w /etc/conf.d/hostname

# nano -w /etc/conf.d/net


21. 부팅시 자동으로 네트워크 활성화

# rc-update add net.eth0 default


22. /etc/hosts

# nano -w /etc/hosts


23. root 패스워드

# passwd


24. local 시간 설정

# nano -w /etc/conf.d/clock

UTC -> local


25. 로그, 크론 데몬

# emerge syslog-ng

# rc-update add syslog-ng default

# emerge vixie-cron

# rc-update add vixie-cron default


26. DHCP 클라이언트 설치

# emerge dhcpcd


27. GRUB 설정

# emerge grub

# nano -w /boot/grub/grub.conf


default 0

timeout 10

splashimage=(hd0,0)/boot/grub/splash.xmp.gz


title=Gentoo Linux 2.6.18-r3

kernel /boot/kernel-genkernel-x86-2.8.18-gentoo-r3 root=/dev/ram0 init=/linuxrc ramdisk=8192 real_root=/dev/sda3 vga=791 video=vesafb:mtrr:3,ywap doscsi udev

initrd /boot/initramfs-genkernel-x86-2.6.18-gentoo-r3

# grep -v rootfs /proc/mounts > /etc/mtab


# grub

grub> root (hd0,0)

grub> setup (hd0)

grub> quit


28. 로케일 설정

# nano -w /etc/env.d/02locale

LANG="ko_KR.UTF-8"

# env-update

# source /etc/profile


29. 리부트

# exit

# cd

# umount /mnt/gentoo/boot /mnt/gentoo/proc /mnt/gentoo/dev /mnt/gentoo

# reboot


30. Update

# emerge -Dpvu world

# emerge -Dvu world


31. ALSA

# lspci -v | grep -i audio // 사운드 카드 확인

# emerge alsa-utils

# alsaconf

# rc-update add alsasound boot


32. X Server

/etc/make.conf에 아래 확인

INPUT_DEVICES="keyboard mouse"

VIDEO_CARDS="vmware"


# emerge -pv xorg-x11

# emerge xorg-x11

# env-update

# source /etc/profile

# Xorg --configure

# X -config /root/xorg.conf.new // 테스트

# cp /root/xorg.conf.new /etc/X11/xorg.conf

# startx


33. Gnome

/etc/make.conf의 USE에 hal 추가

# emerge gnome-light

# env-update && source /etc/profile

# emerge gamin


fam 이 설치되어 있으면 제거

# rc-update del famd delfault

# emerge --unmerge fam


# /etc/init.d/hald start

# rc-update add hald default

# echo "exec gnome-session" > ~/.xinitrc

#startx


*GDM 사용하기

# rc-update add xdm default

# nano -w /etc/rc.conf

DISPLAYMANAGER="gdm"


* gpm 사용하기

# emerge gpm

# nano -w /etc/init.d/gpm

MOUSE=imps2 -> 휠 마우스인 경우

MOUSEDEV=/dev/input/mice -> USB 마우스인 경우

# /etc/init.d/gpm start

# rc-update add gpm default
VMWare에 Ubuntu 설치시에는 특별히 X11를 설정하지 않아도 800x600 이상의 해상도를 사용할 수 있으나,
Ubuntu에서 vmware용 비디오 드라이버를 지원하고 있어, 다음은 VMware용 비디오 드라이버를 설정하는 방법이다.
Device Section에 Driver "vmware"로 설정해준다.

# xorg.conf (X.Org X Window System server configuration file)
#
# This file was generated by dexconf, the Debian X Configuration tool, using
# values from the debconf database.
#
# Edit this file with caution, and see the xorg.conf manual page.
# (Type "man xorg.conf" at the shell prompt.)
#
# This file is automatically updated on xserver-xorg package upgrades *only*
# if it has not been modified since the last upgrade of the xserver-xorg
# package.
#
# If you have edited this file but would like it to be automatically updated
# again, run the following command:
# sudo dpkg-reconfigure -phigh xserver-xorg

Section "InputDevice"
Identifier "Generic Keyboard"
Driver "kbd"
Option "XkbRules" "xorg"
Option "XkbModel" "pc105"
Option "XkbLayout" "kr"
EndSection

Section "InputDevice"
Identifier "Configured Mouse"
Driver "vmmouse"
EndSection

Section "Device"
Identifier "Configured Video Device"
Driver "vmware"
EndSection

Section "Monitor"
Identifier "Configured Monitor"
EndSection

Section "Screen"
Identifier "Default Screen"
Monitor "Configured Monitor"
Device "Configured Video Device"
EndSection

Section "ServerLayout"
Identifier "Default Layout"
Screen "Default Screen"
EndSection

VMWare에 Ubuntu를 설치한 경우엔 특별한 설정없이도 고해상도를 사용할 수 있으나, VirtualBox의 경우엔 비디오 드라이버를 설정해 주어야 800x600 이상의 해상도를 사용할 수 있다.
Video Device 설정 Section에 Driver "vboxvideo"로 설정한다.
# xorg.conf (X.Org X Window System server configuration file)
#
# This file was generated by dexconf, the Debian X Configuration tool, using
# values from the debconf database.
#
# Edit this file with caution, and see the xorg.conf manual page.
# (Type "man xorg.conf" at the shell prompt.)
#
# This file is automatically updated on xserver-xorg package upgrades *only*
# if it has not been modified since the last upgrade of the xserver-xorg
# package.
#
# If you have edited this file but would like it to be automatically updated
# again, run the following command:
# sudo dpkg-reconfigure -phigh xserver-xorg

Section "InputDevice"
Identifier "Generic Keyboard"
Driver "kbd"
Option "XkbRules" "xorg"
Option "XkbModel" "pc105"
Option "XkbLayout" "kr"
Option "XkbVariant" "kr104"
EndSection

Section "InputDevice"
Identifier "Configured Mouse"
Driver "vmmouse"
EndSection

Section "InputDevice"
Identifier "Synaptics Touchpad"
Driver "synaptics"
Option "Device" "/dev/psaux"
Option "Protocol" "auto-dev"
Option "HorizEdgeScroll" "0"
EndSection

Section "Device"
Identifier "Configured Video Device"
Driver "vboxvideo"
EndSection

Section "Monitor"
Identifier "Configured Monitor"
EndSection

Section "Screen"
Identifier "Default Screen"
Monitor "Configured Monitor"
Device "Configured Video Device"
EndSection

Section "ServerLayout"
Identifier "Default Layout"
Screen "Default Screen"
InputDevice "Synaptics Touchpad"
EndSection

Section "InputDevice"
Identifier "VBoxMouse"
Driver "vboxmouse"
Option "CorePointer"
EndSection


+ Recent posts