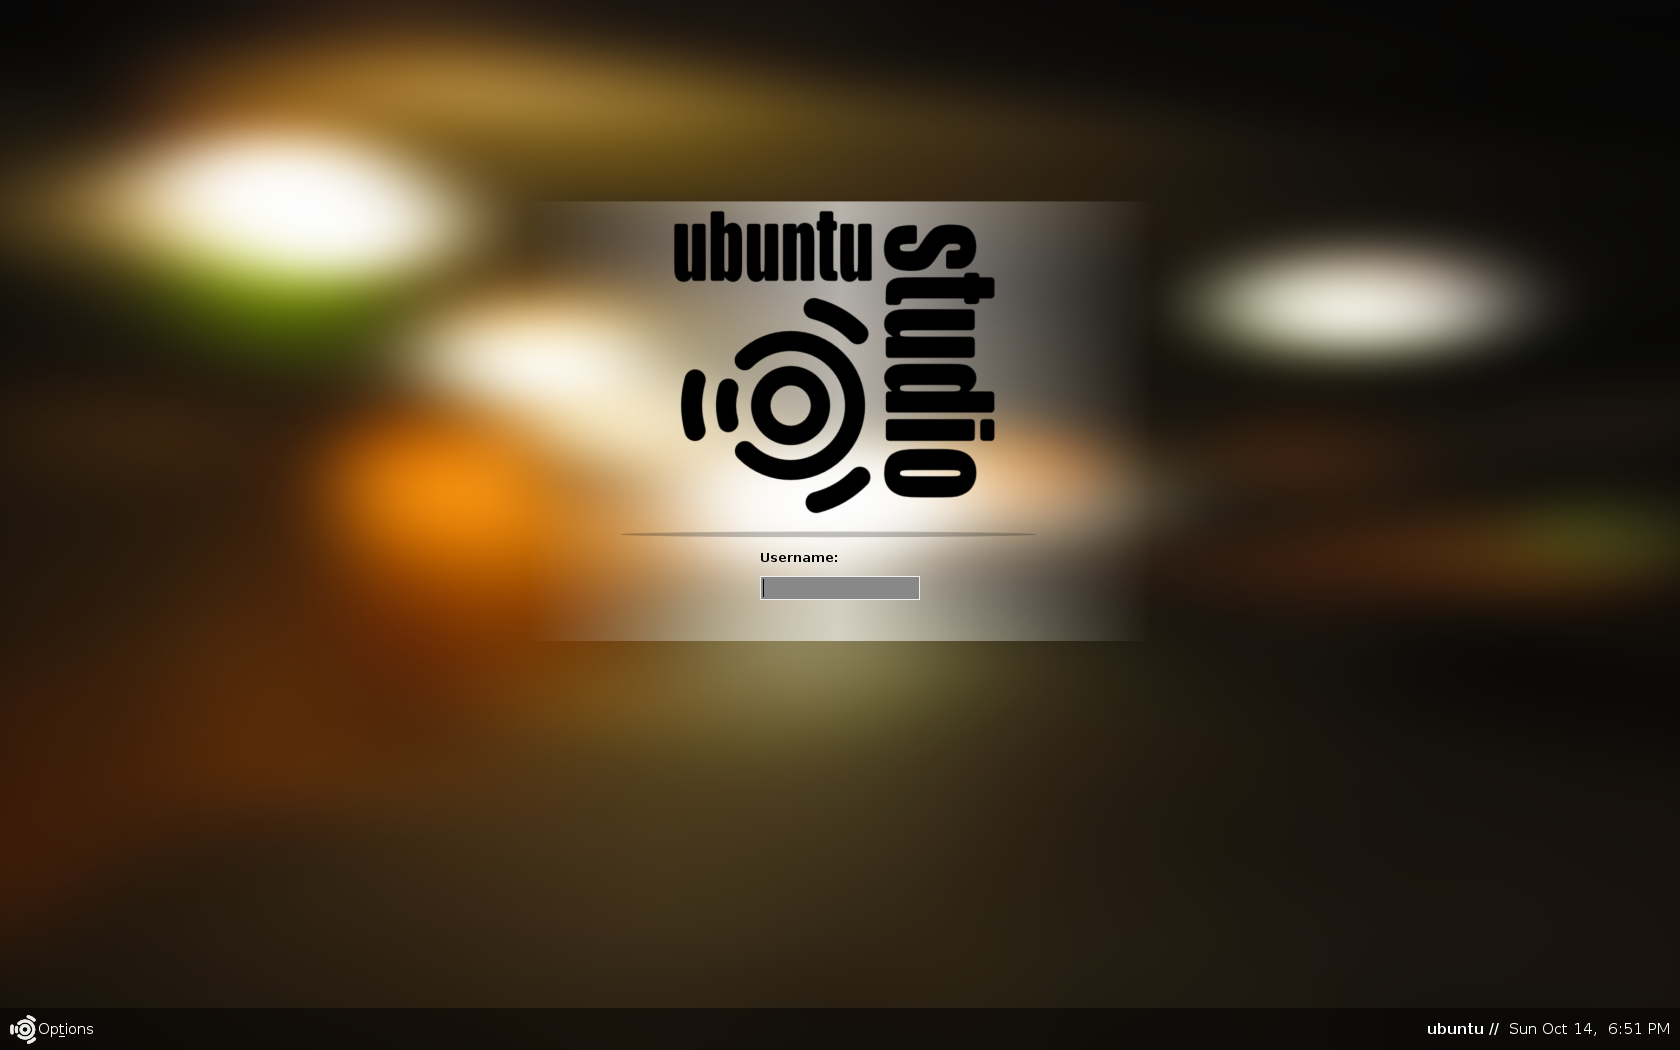
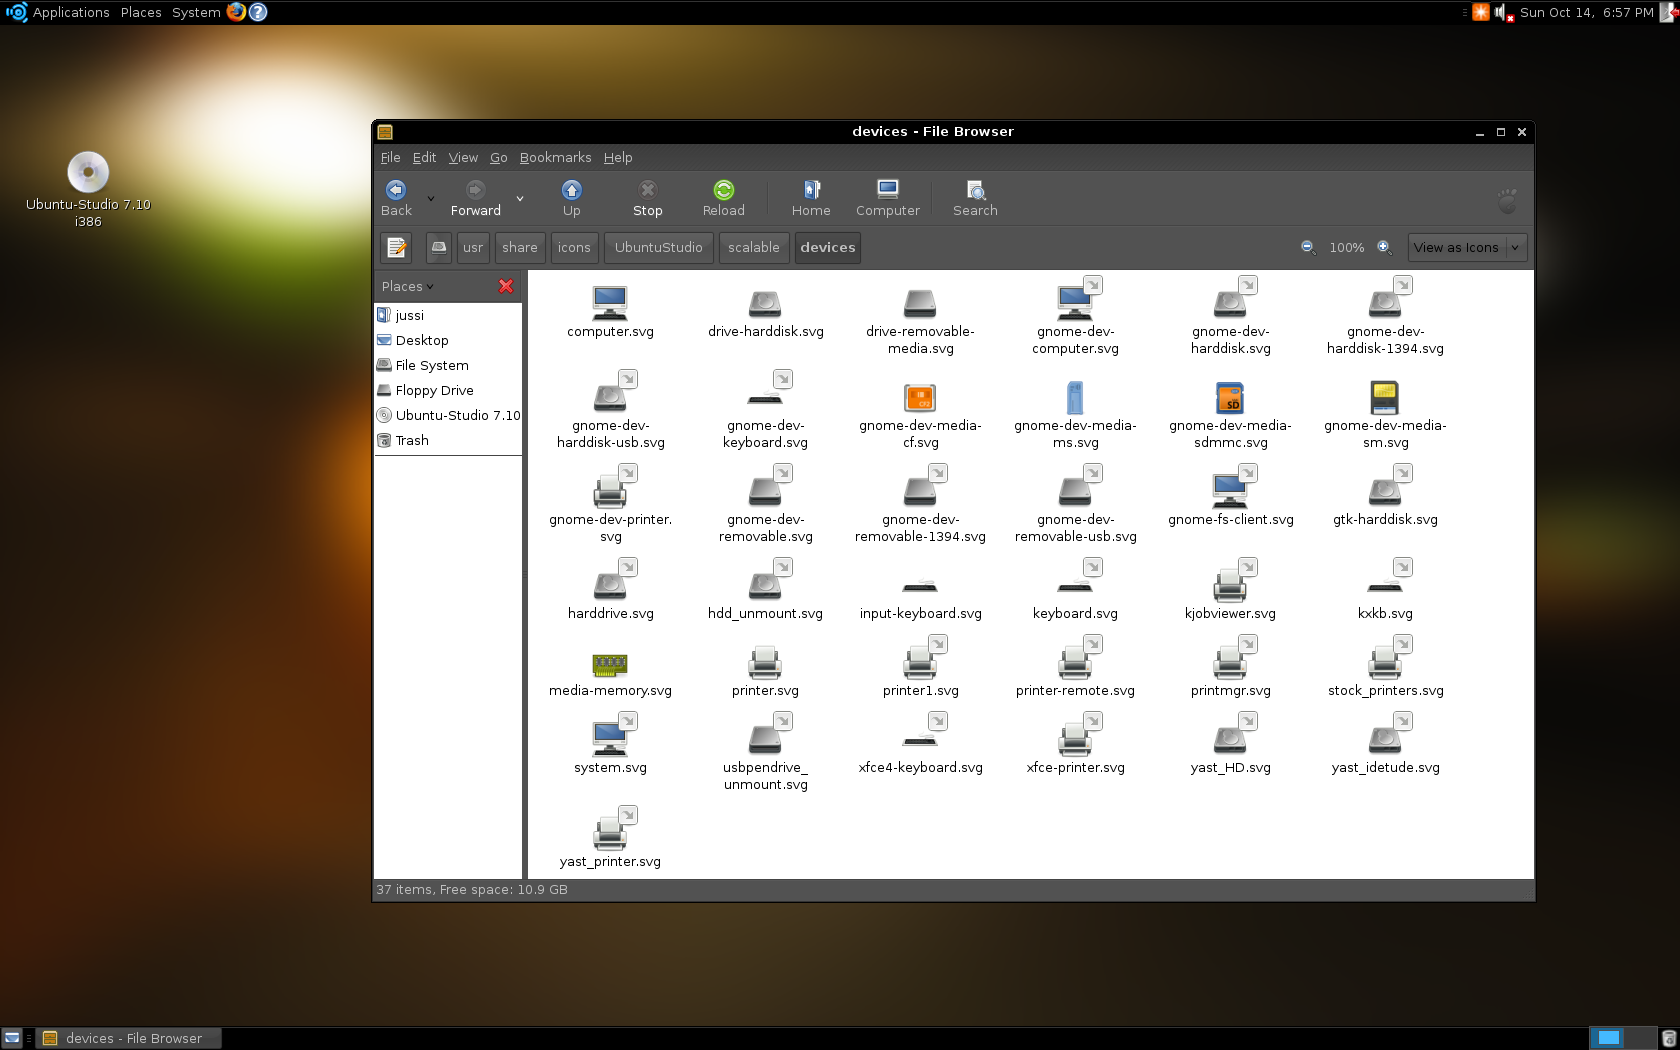
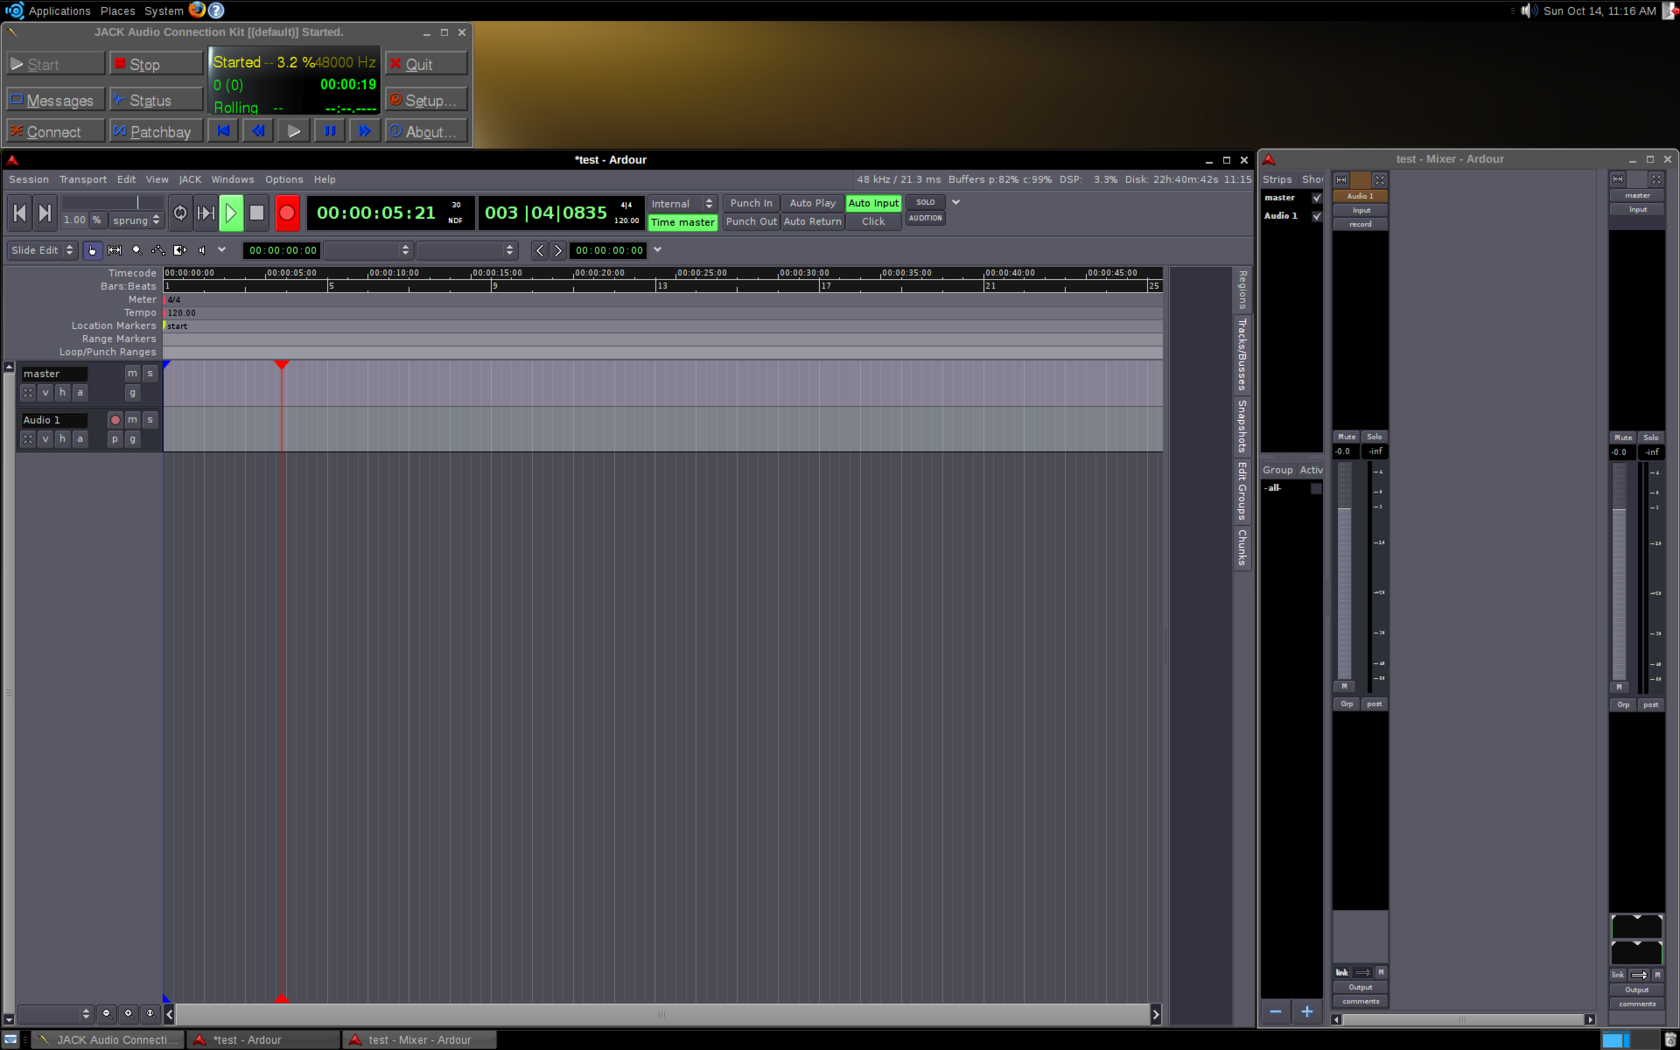
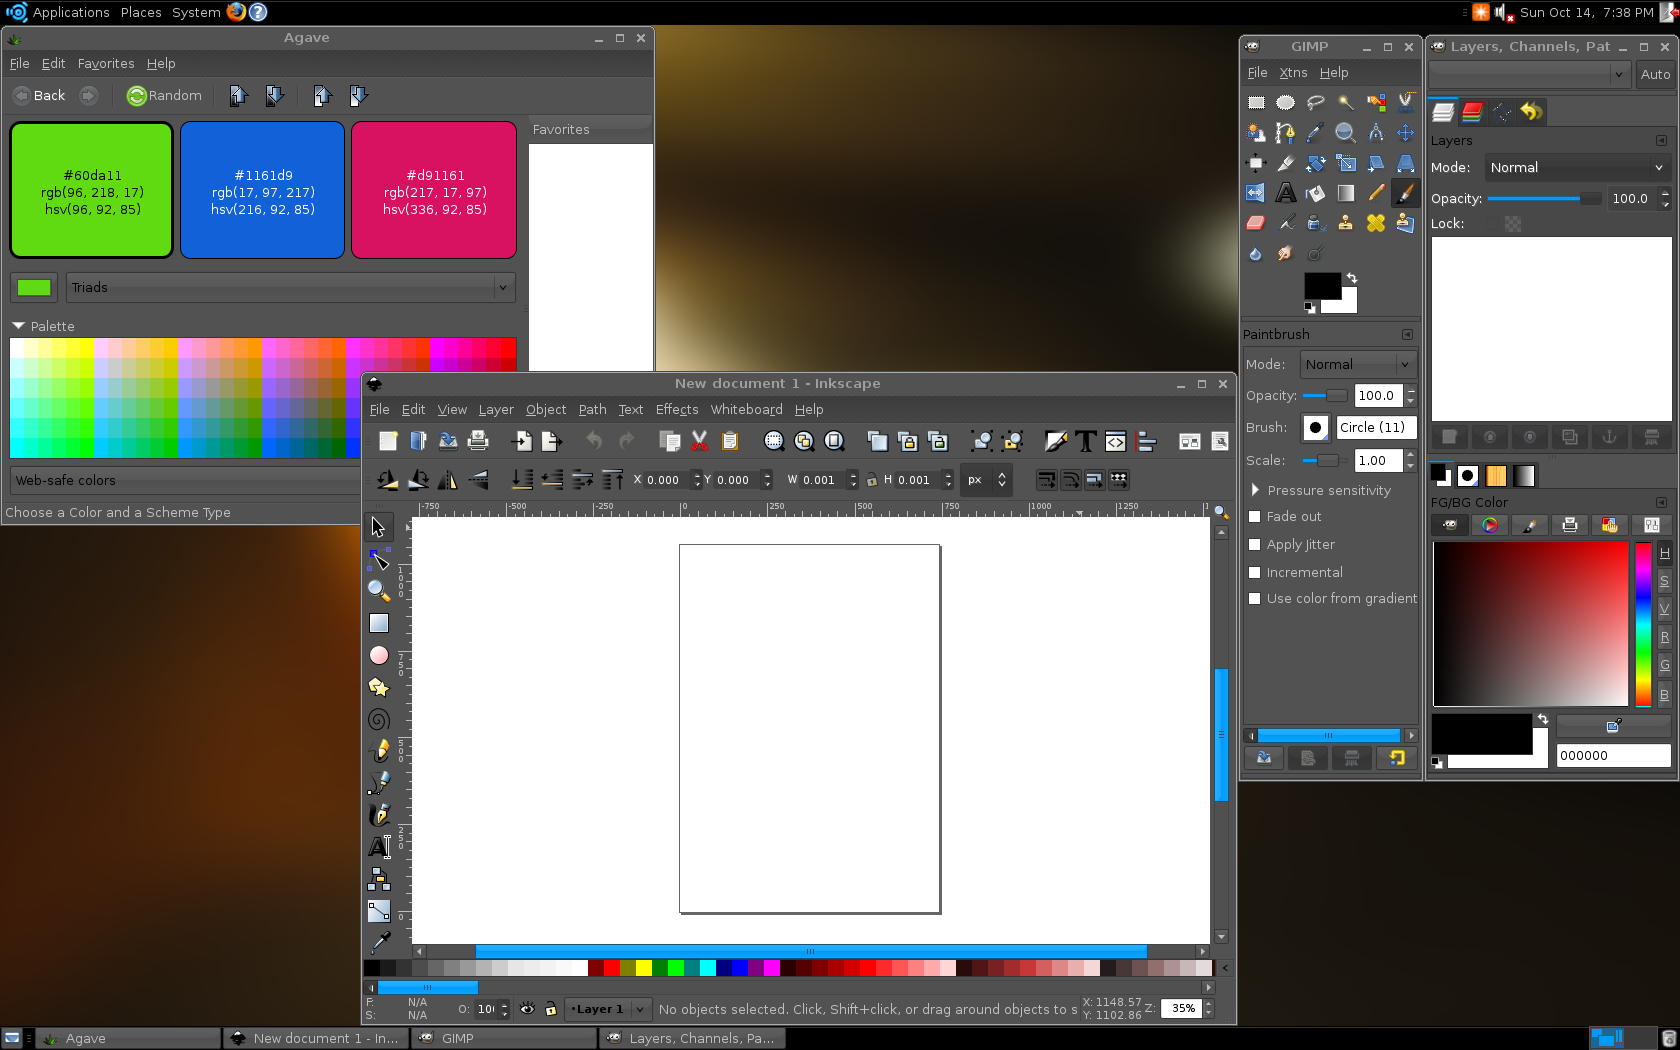
Ubuntu 홈페이지에 들렀다가 Gobuntu, Ubuntu Studio 배포판도 나온 걸 알게 되었다.
Gobuntu는 Linux 기반이 아닌 GNU/Linux 기반의 배포판이고 Ubuntu Studio는 멀티미디어 편집용
Ubuntu 배포판이다.


우분투에 굴림체와 비슷한 네이버사전체를 설치하는 방법에 대한 소개입니다.
1. 네이버사전체 받기
http://cndic.naver.com/font.nhn

다음은 VMWare에 Gentoo Linux 2006.1을 stage3로 설치한 기록입니다.
1. 파티션 나누기
/dev/sda1 32M /boot
/dev/sda2 512M swap
/dev/sda3 나머지 /
2. 파일 시스템 만들기
# mke2fs /dev/sda1
# mke2fs -j /dev/sda3
# mkswap /dev/sda2
# swapon /dev/sda2
3. 마운트
# mount /dev/sda3 /mnt/gentoo
# mkdir /mnt/gentoo/boot
# mount /dev/sda1 /mnt/gentoo/boot
4. 날짜 맞추기
date를 이용해 오늘 날짜로 조정한다.
5. stage3, portage 다운로드
stage3: releases/x86/2006.1/stages/stage-i686-2006.1.tar.bz2
portage: snapshots/portage-latest.tar.bz2
links에서 D를 누르면 다운로드 한다.
# cd /mnt/gentoo
# links http://www.gentoo.org/main/en/mirrors.xml
6. 압축 풀기
# tar xvjpf stage3-i686-2006.1.tar.bz2
# tar xvjf /mnt/gentoo/portage-latest.tar.bz2 -C /mnt/gentoo/usr
7. make.conf
# nano -w /mnt/gentoo/etc/make.conf
MAKEOPTS="-j2" 추가
8. 미러 사이트, rsync 사이트 추가
# mirrorselect -i -o >> /mnt/gentoo/etc/make.conf
# mirrorselect -i -r -o >> /mnt/gentoo/etc/make.conf
*참고
SYNC="rsync://64.127.121.98/gentoo-portage"
9. DNS
# cp -L /etc/resolv.conf /mnt/gentoo/etc/resolv.conf
10. proc, dev 마운트
# mount -t proc none /mnt/gentoo/proc
# mount -o bind /dev /mnt/gentoo/dev
11. 루트 바꾸기
# chroot /mnt/gentoo /bin/bash
# env-update
# source /etc/profile
# export PS1="(chroot) $PS1"
12. portage 트리 업데이트
# emerge --sync
* portage가 업데이트 되었다고 나오면 emerge portage를 실행
13. profile 확인
# ls -FGg /etc/make.profile
lrwxrwxrwx 1 48 Nov 30 20:00 /etc/make.profile -> ../usr/portage/profile/default-linux/x86/2006.1/
2.6 커널 기반인지 확인
14. USE 설정
# nano -w /etc/make.conf
USE="gnome gtk2 -kde -qt3 -qt4 firefox cjk symlink alsa"
INPUT_DEVICES="keyboard mouse"
VIDEO_CARDS="vmware"
LINGUAS="ko"
15. GLIBC 로케일
# nano -w /ete/locale.gen
en_US ISO-8859-1
en_US.UTF-8 UTF-8
ko_KR.EUC-KR EUC-KR
ko_KR.UTF-8 UTF-8
ko_KR EUC-KR
# locale-gen
16. timezone
# cp /usr/share/zoneinfo/Asia/Seoul /etc/localtime
17. 커널 소스 설치
# USE="-doc symlink" emerge gentoo-sources
# ls -l /usr/src/linux
18. genkernel을 이용한 커널 컴파일
# emerge genkernel
# genkernel all
# emerge coldplug
# rc-update add coldplug boot
19. fstab
# nano -w /etc/fstab
/dev/sda1 /boot ext2 defaults.noatime 1 2
/dev/sda2 none swap sw 0 0
/dev/sda3 / ext3 noatime 0 1
proc /proc proc defaults 0 0
shm /dev/shm tmpfs nodev,nosuid,noexec 0 0
20. hostname, domainname
# nano -w /etc/conf.d/hostname
# nano -w /etc/conf.d/net
21. 부팅시 자동으로 네트워크 활성화
# rc-update add net.eth0 default
22. /etc/hosts
# nano -w /etc/hosts
23. root 패스워드
# passwd
24. local 시간 설정
# nano -w /etc/conf.d/clock
UTC -> local
25. 로그, 크론 데몬
# emerge syslog-ng
# rc-update add syslog-ng default
# emerge vixie-cron
# rc-update add vixie-cron default
26. DHCP 클라이언트 설치
# emerge dhcpcd
27. GRUB 설정
# emerge grub
# nano -w /boot/grub/grub.conf
default 0
timeout 10
splashimage=(hd0,0)/boot/grub/splash.xmp.gz
title=Gentoo Linux 2.6.18-r3
kernel /boot/kernel-genkernel-x86-2.8.18-gentoo-r3 root=/dev/ram0 init=/linuxrc ramdisk=8192 real_root=/dev/sda3 vga=791 video=vesafb:mtrr:3,ywap doscsi udev
initrd /boot/initramfs-genkernel-x86-2.6.18-gentoo-r3
# grep -v rootfs /proc/mounts > /etc/mtab
# grub
grub> root (hd0,0)
grub> setup (hd0)
grub> quit
28. 로케일 설정
# nano -w /etc/env.d/02locale
LANG="ko_KR.UTF-8"
# env-update
# source /etc/profile
29. 리부트
# exit
# cd
# umount /mnt/gentoo/boot /mnt/gentoo/proc /mnt/gentoo/dev /mnt/gentoo
# reboot
30. Update
# emerge -Dpvu world
# emerge -Dvu world
31. ALSA
# lspci -v | grep -i audio // 사운드 카드 확인
# emerge alsa-utils
# alsaconf
# rc-update add alsasound boot
32. X Server
/etc/make.conf에 아래 확인
INPUT_DEVICES="keyboard mouse"
VIDEO_CARDS="vmware"
# emerge -pv xorg-x11
# emerge xorg-x11
# env-update
# source /etc/profile
# Xorg --configure
# X -config /root/xorg.conf.new // 테스트
# cp /root/xorg.conf.new /etc/X11/xorg.conf
# startx
33. Gnome
/etc/make.conf의 USE에 hal 추가
# emerge gnome-light
# env-update && source /etc/profile
# emerge gamin
fam 이 설치되어 있으면 제거
# rc-update del famd delfault
# emerge --unmerge fam
# /etc/init.d/hald start
# rc-update add hald default
# echo "exec gnome-session" > ~/.xinitrc
#startx
*GDM 사용하기
# rc-update add xdm default
# nano -w /etc/rc.conf
DISPLAYMANAGER="gdm"
* gpm 사용하기
# emerge gpm
# nano -w /etc/init.d/gpm
MOUSE=imps2 -> 휠 마우스인 경우
MOUSEDEV=/dev/input/mice -> USB 마우스인 경우
# /etc/init.d/gpm start
# rc-update add gpm default